Salesforce Powered Alarms – Avoid SLA Breaches with Case Flags and the Internet of Things (IoT)


If you think Salesforce is limited to a computer, think again! With Case Flags and the Internet of Things (IoT), our team developed a way to extend Salesforce functionality to the real world, and help you prevent SLA breaches.
Alert your team anytime a case reaches the “Red Flag” threshold of a potential Service Level Agreement (SLA) breach. You can certainly adjust these rules based on how and when you want to alert people with flashing lights.
The workflow rules that we will be creating in this article all stem from this article in our Knowledge Base: Customizing Case Level Flags with Workflow Rules and Field Updates
What You Will Need
- Case Flags – We hope that you already have this. If not, download a 21-day free trial from the AppExchange.
- IFTTT Account – If you don’t already have one, get one. You can use IFTTT for a lot of cool things!
- Wemo Insight Smart Switch – There are other brands and options for these switches. The key is whether it works with IFTTT. If the switch works with IFTTT, then it will probably work here.
- Flashing Light – There are lots of different options for this, but I personally like this old school one that uses a real bulb and actually rotates. None of those newfangled LED versions for me! (And by the way, get off my lawn.)
Note: You could also use a Hue light bulb instead of the combination of the Wemo Switch and the Flashing Light, but that would require that you change out the bulbs in your existing fixtures, and that might not work well with your office space.
Inside of Salesforce, you will be creating a checkbox field on the case object and two workflow rules.
Step by Step Instructions
Step 1: Install the IFTTT Package in your Salesforce Org, and then Link your Org to IFTTT.
Go to https://ifttt-salesforce.herokuapp.com/install and click the “Install Package” button.

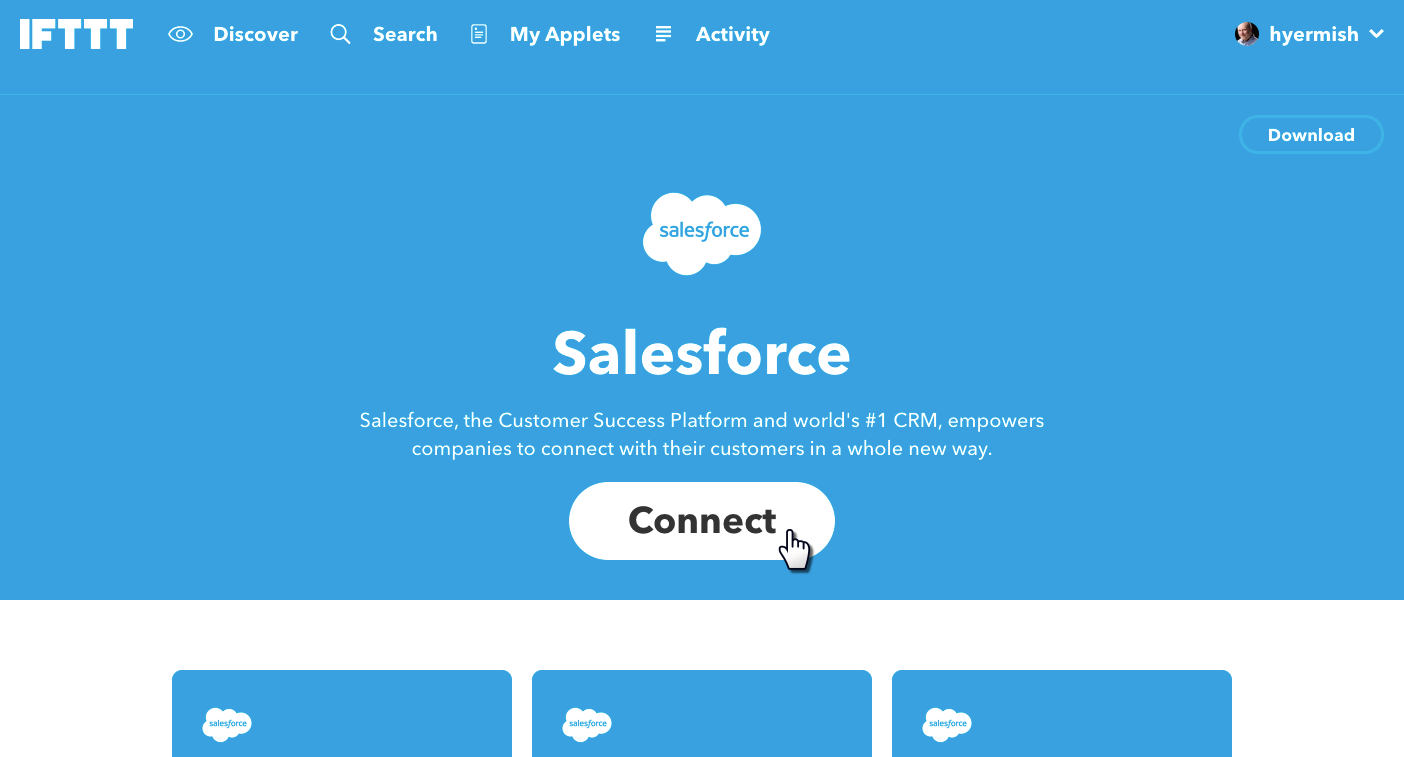
From IFTTT, go to the Salesforce service and then click the “Connect” button.
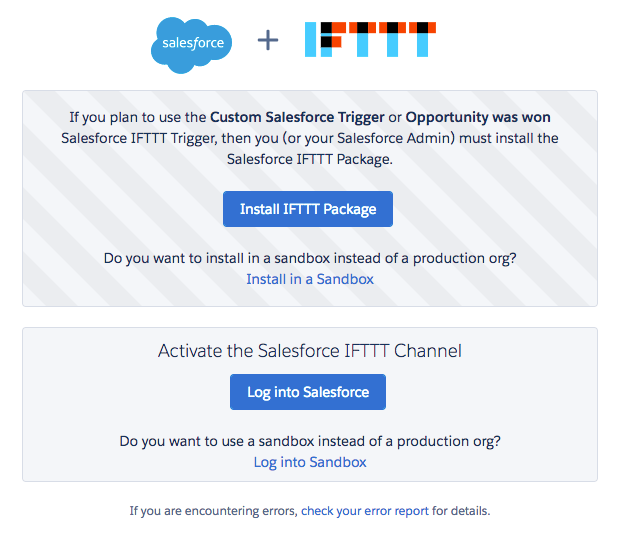
Click the “Log Into Salesforce” button and authenticate into the appropriate place. It will do magical connecting things, then drop you back into IFTTT.
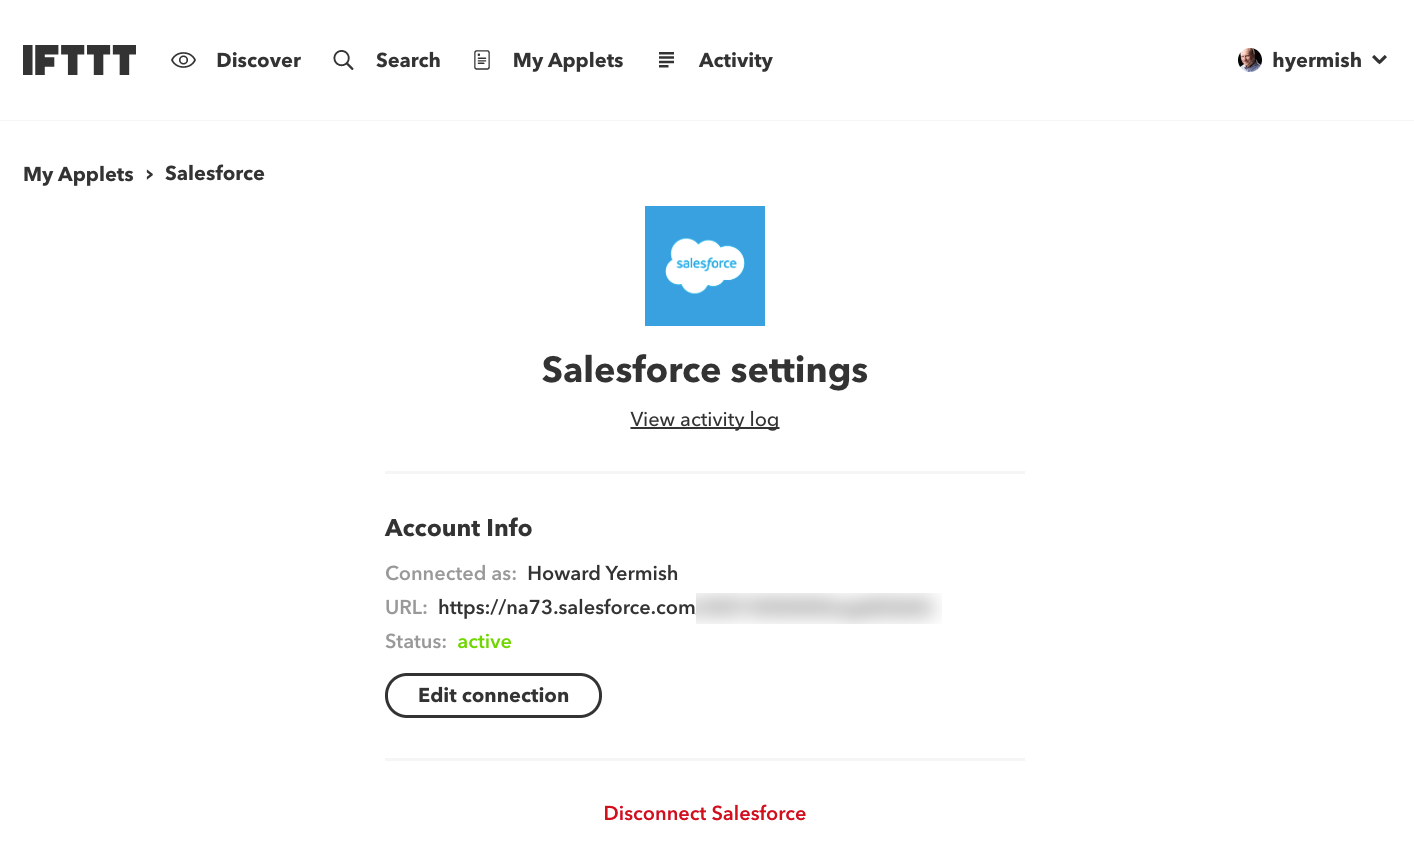
At this point, check the Salesforce settings in IFTTT to confirm that IFTTT is connected to the right Salesforce org.
Step 2: Create a Checkbox Field for IFTTT on the Case Object.
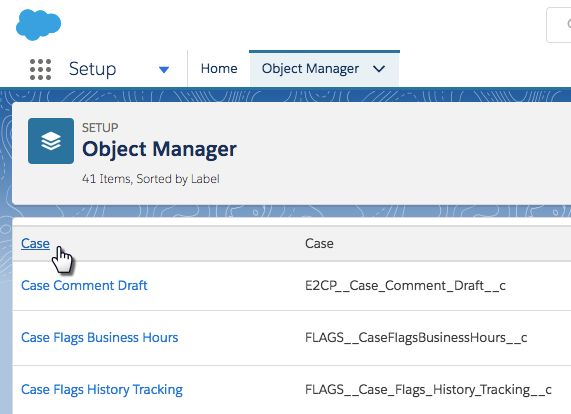
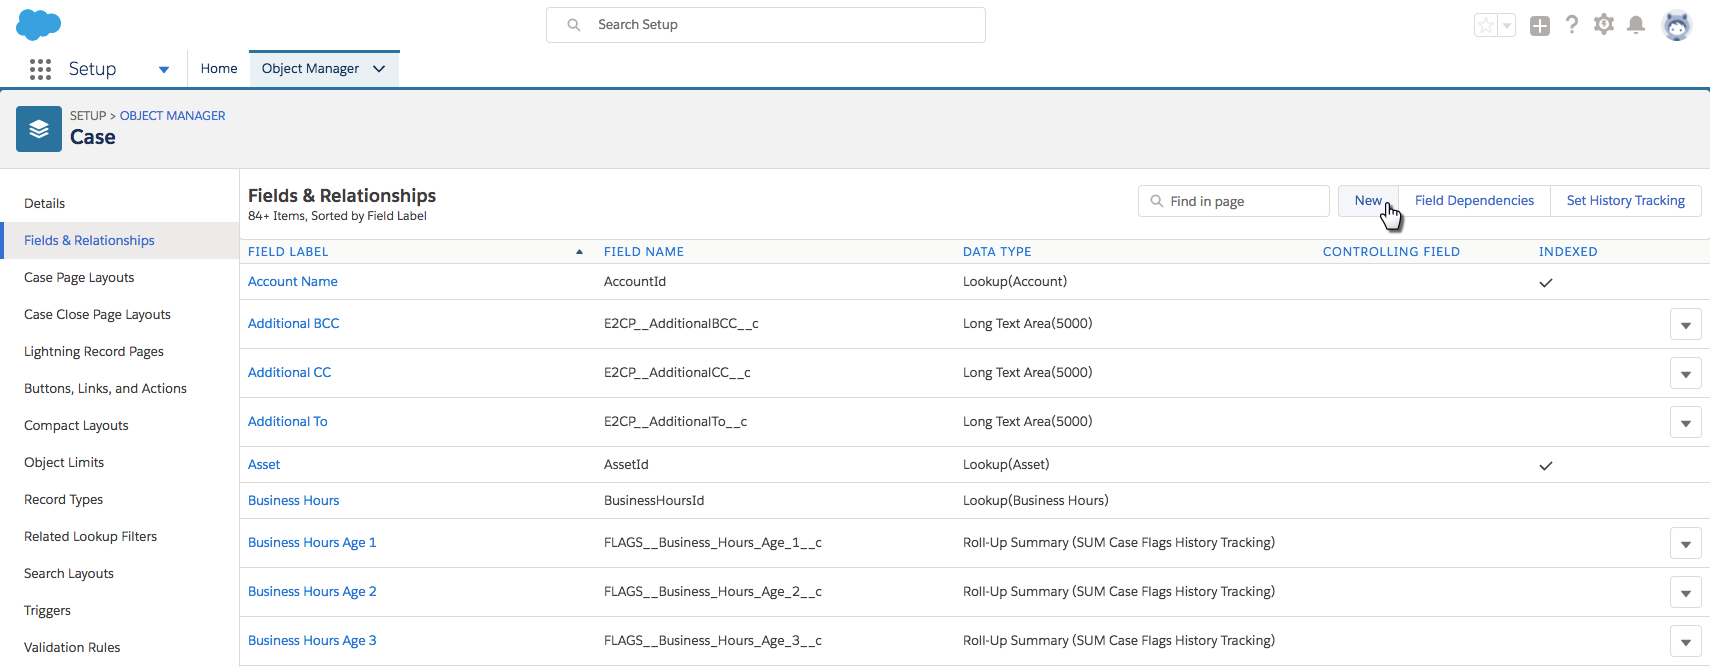
In order to make it simple for IFTTT to know when it should wake up, you will add a new checkbox field to the case object. Start by clicking on Setup > Object Manager > Case.
Select “Fields and Relationships” and then click on the New button.
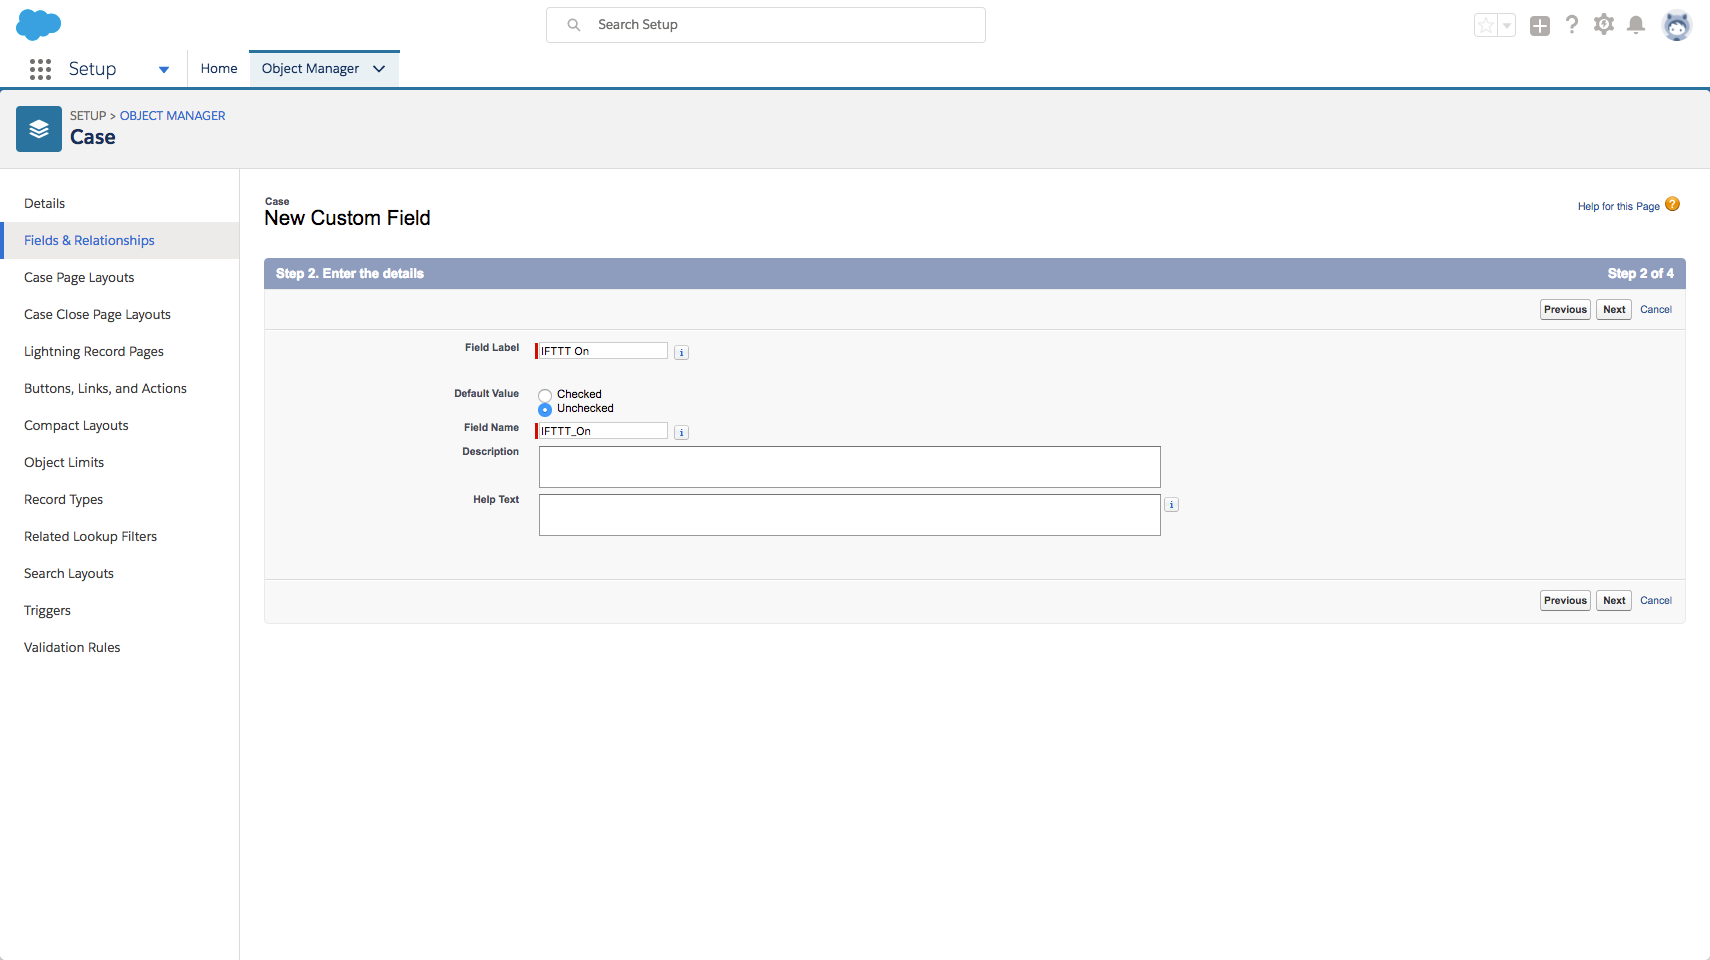
Select the “Checkbox” option and then click Next. On the next screen, enter the field label “IFTTT On” in the details panel, and set the default value as Unchecked. Click Next to continue.
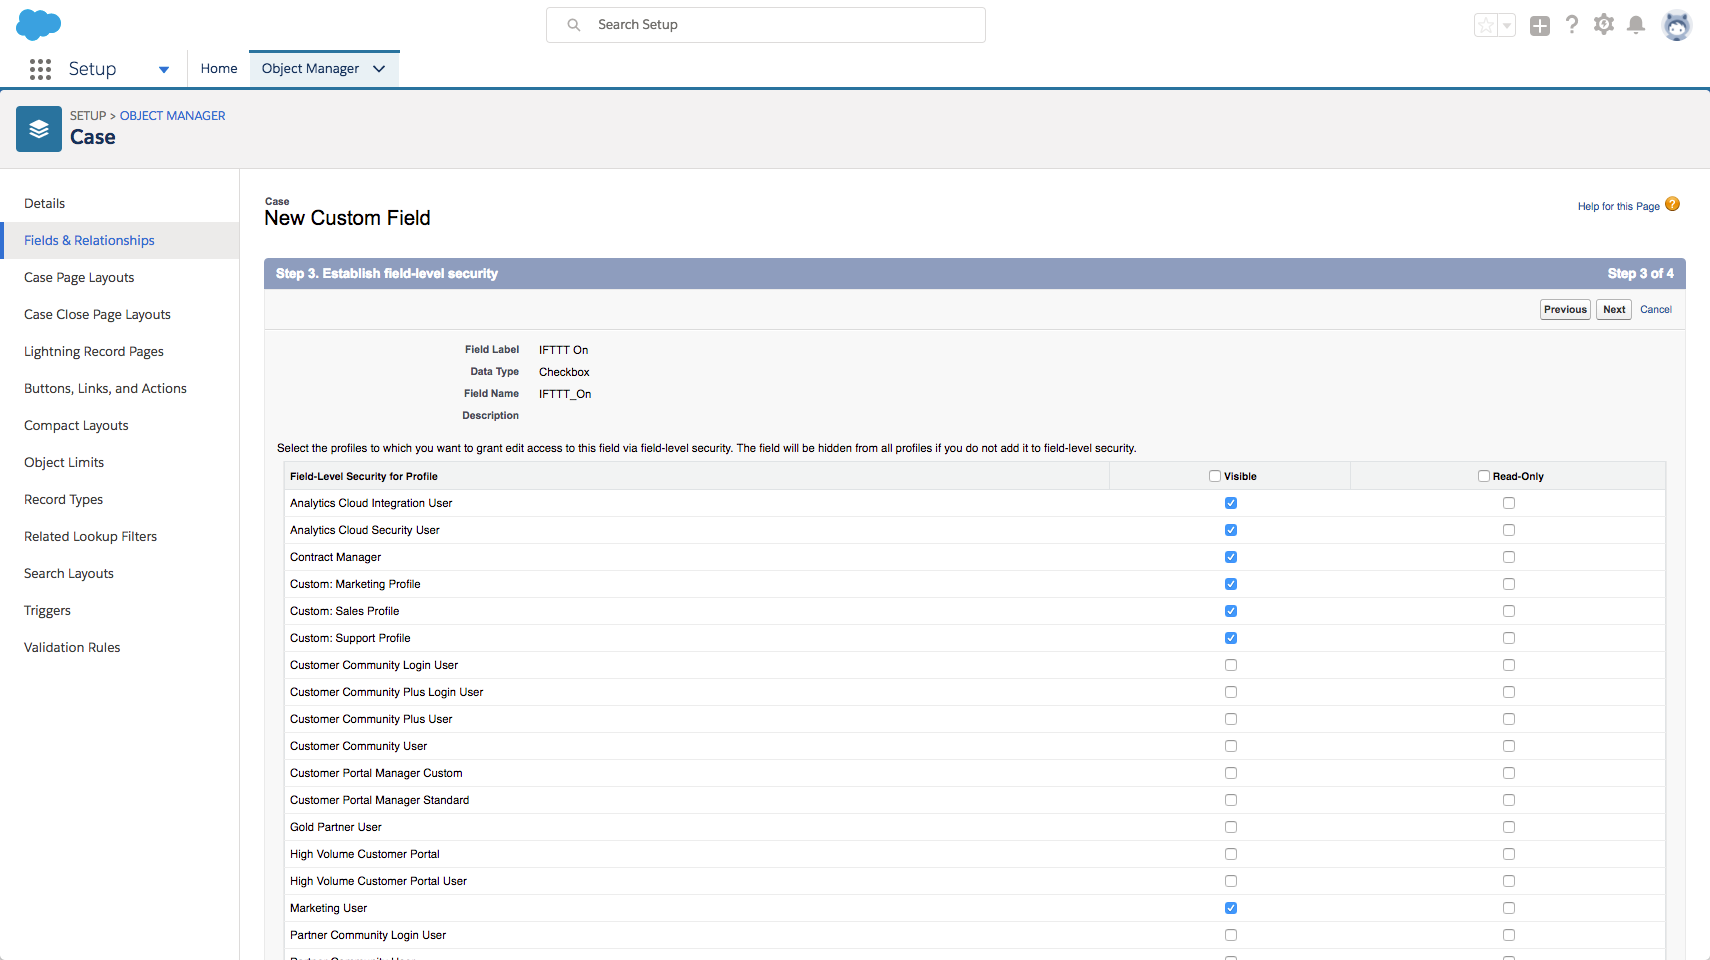
For the Field-Level Security, leave the defaults as is and click Next to continue.
In the following screen, you can choose whether to add this field to your Case page layouts. While you are testing, you may want to add the field to one of your Case page layouts. However, you probably don’t want people accessing or manually editing this field once everything is working properly. If you choose to add the field to your page layouts, remember to remove the field from the layout once everything is working properly. Click Save to complete adding the field to the Case Object.

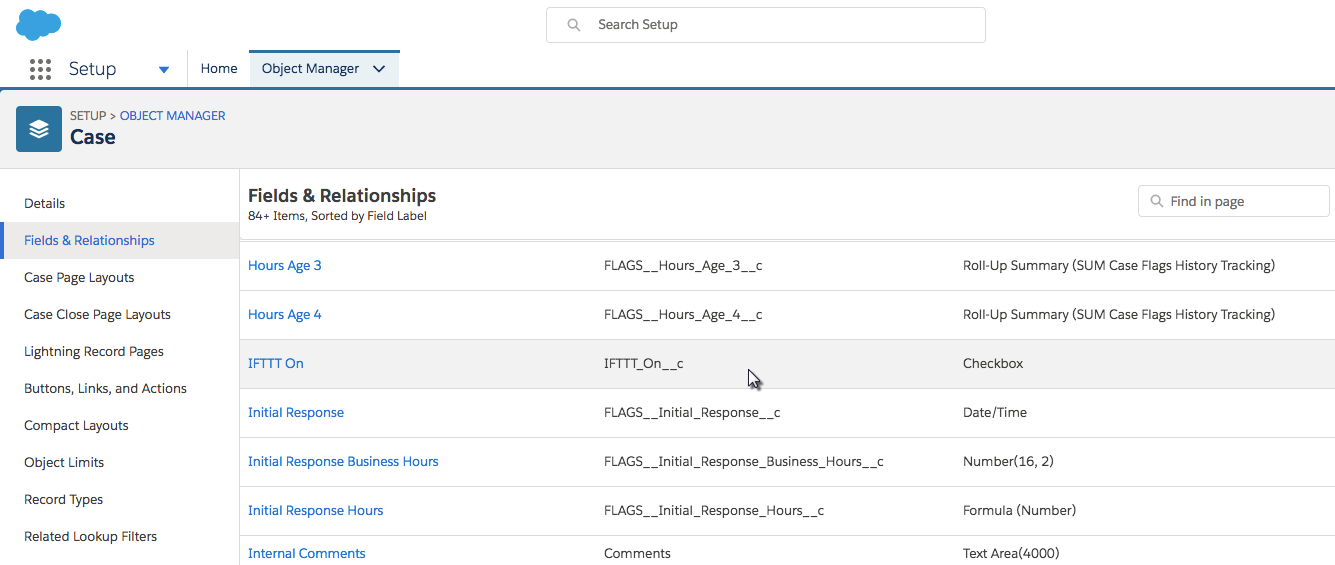
Your field should now be created. Scroll through the “Fields and Relationships” list to see the new “IFTTT On” checkbox field, and note that the API Name should be “IFTTT_On__c” or similar depending on how you named your field. You will need this API Name later when creating the applet in IFTTT.
Step 3: Create the “Escalate to IFTTT” Workflow Rule.
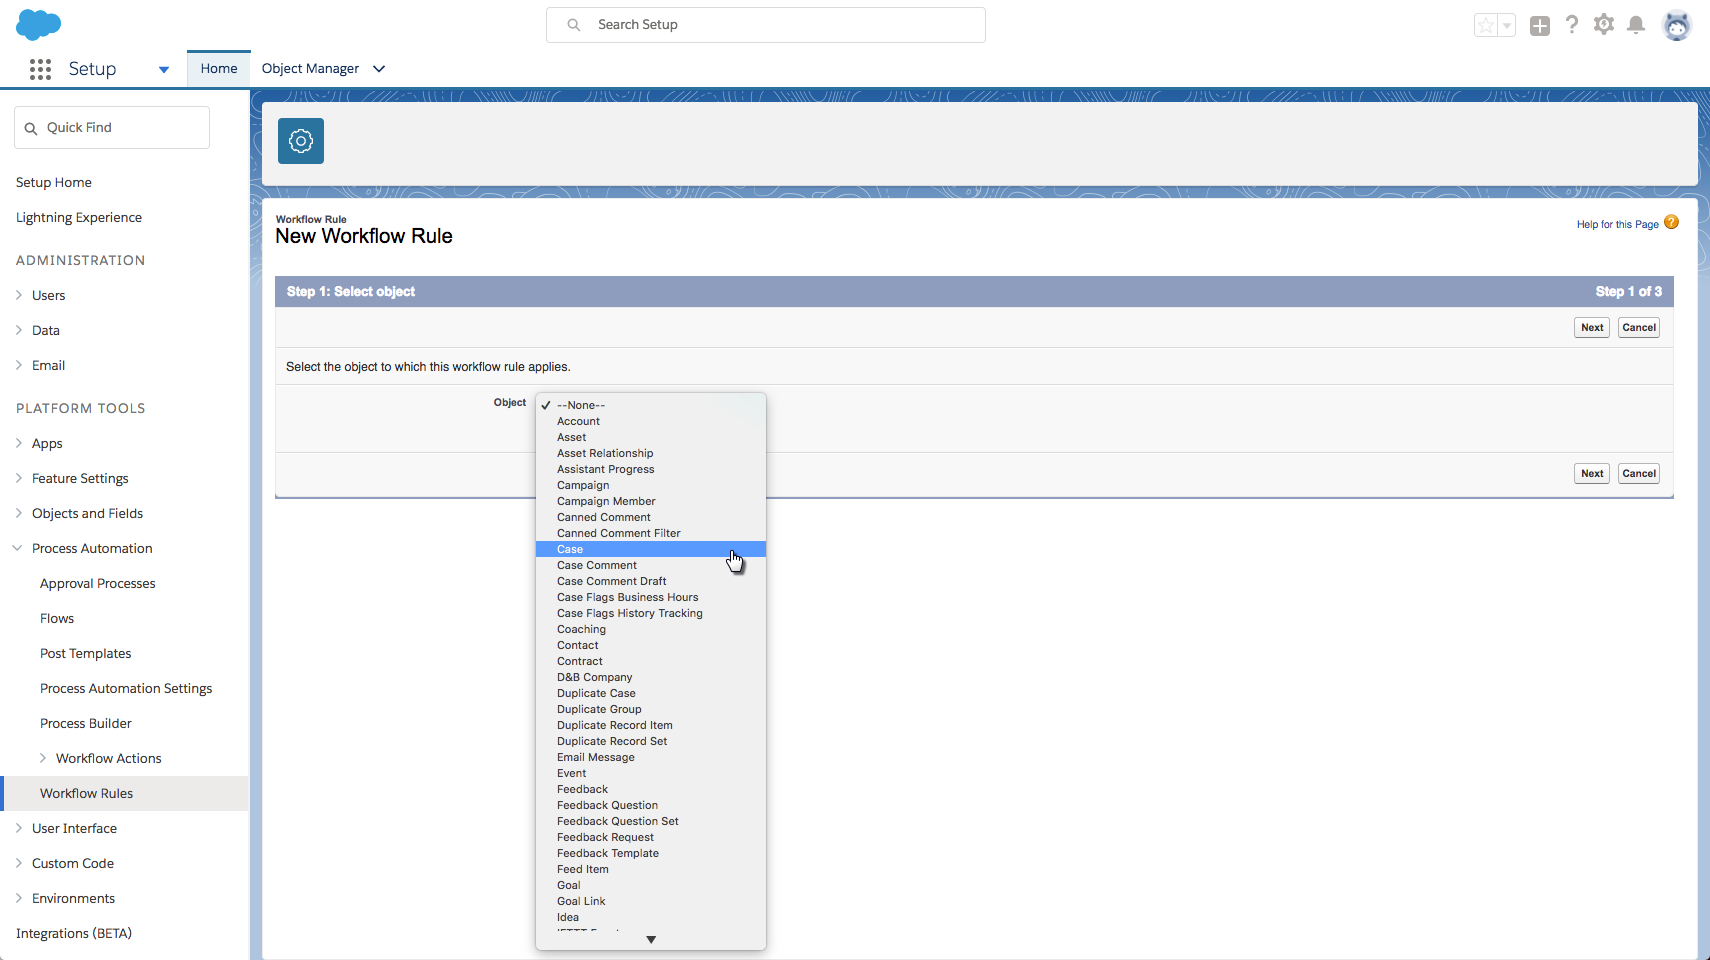
Start by clicking on Setup > Process Automation > Workflow Rules, and then click “New Rule.” Select the Case Object from the drop-down menu, and then click Next.
To configure this workflow rule, give it a name, “Escalate to IFTTT,” and an optional description, “Set the IFTTT field when Case Flags goes red.” For the evaluation criteria, leave it as the default, “created, any time it’s edited to subsequently meet criteria.” For the rule criteria, select the default to run when the “criteria are met,” set the field “Case: Case Flag Date/Time,” the operator to “NOT EQUAL TO” and leave the value blank (null). Click the Save and Next button to continue.

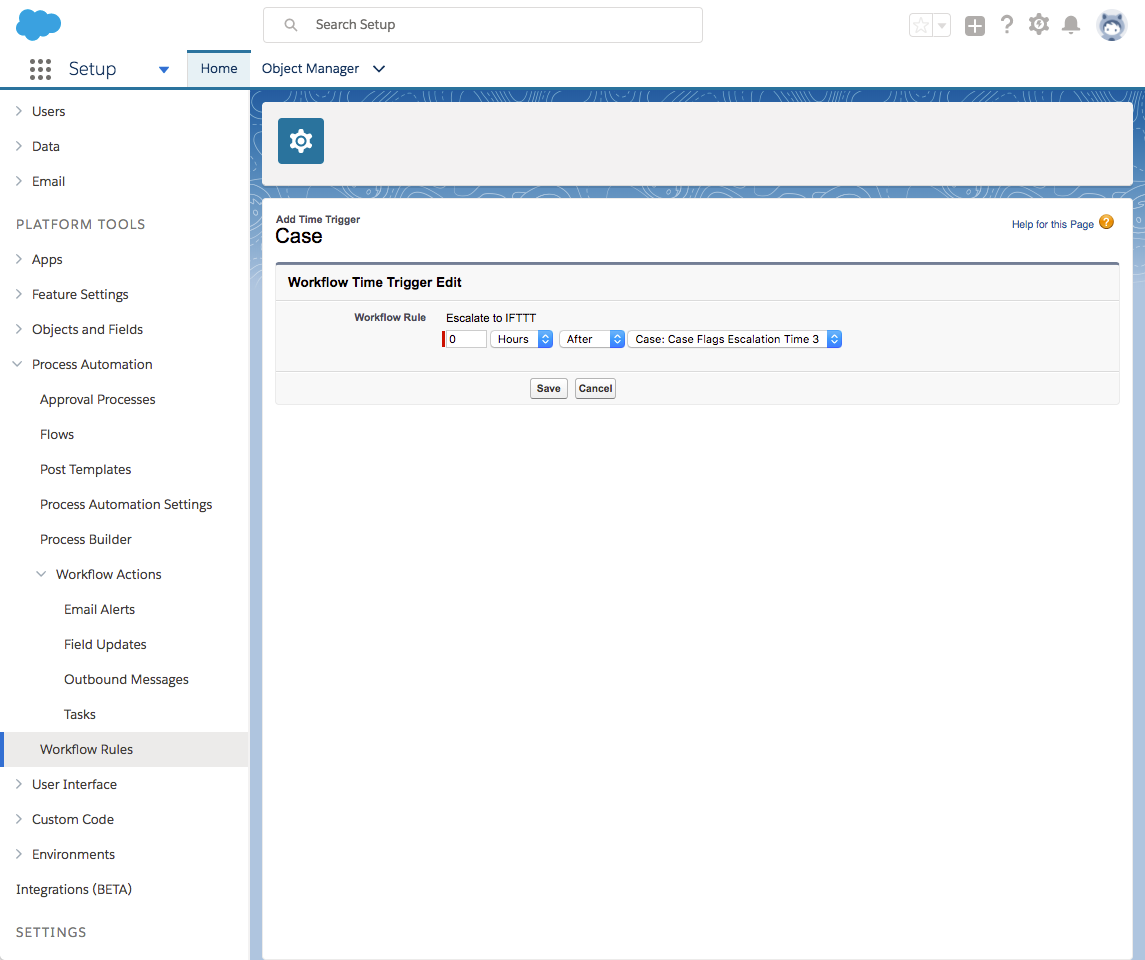
Next, you will specify Workflow Actions, starting by clicking the “Add Time Trigger” button in the “Time-Dependent Workflow Actions” section. Set the options for “0 Hours After Case: Case Flags Escalation Time 3,” and then click Save to continue.
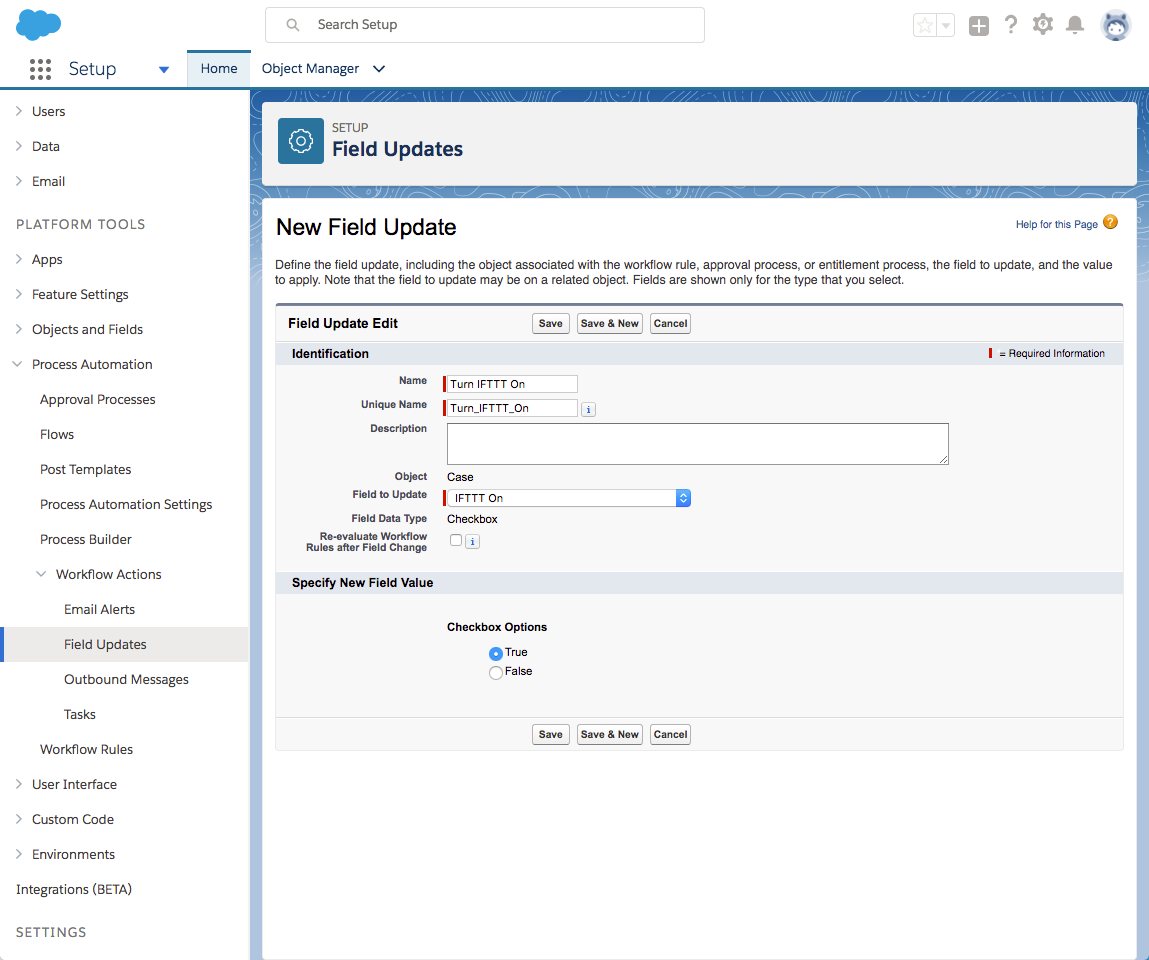
Inside the “Time-Dependent Workflow Actions” section, specifically in the “0 Hours After Case: Case Flags Escalation Time 3,” click the “Add Workflow Action” button, then select “New Field Update.” Set the Name to “”Turn IFTTT On,” set the Field to Update to “IFTTT On,” and then in the Specify New Field Value, set the Checkbox Options to True. Click Save to continue.
Similar to before, click the “Add Time Trigger” button in the “Time-Dependent Workflow Actions” section. Set the options for “1 Hours After Case: Case Flags Escalation Time 3,” and then click Save to continue.
Again as before, inside the “Time-Dependent Workflow Actions” section, click the “Add Workflow Action” button, then select “New Field Update.” Set the Name to “”Turn IFTTT Off,” set the Field to Update to “IFTTT On,” and then in the Specify New Field Value, set the Checkbox Options to False. Click Save to continue.
You should now have two time-dependent workflow actions, one for “0 Hours After Case: Case Flags Escalation Time 3” and one for “1 Hours After Case: Case Flags Escalation Time 3” to turn on and off the IFTTT checkbox field respectively. Click the “Done” button in the top right, and then click the “Activate” button on the next screen.
As a note to this, the second part where you clear the checkbox after an hour is only there to handle situations where you are using business hours and the flag hasn’t been cleared by the end of business hours. Because Case Flags runs a batch job at the end of business hours, IFTTT will see the update to the case as a reason to re-evaluate the checkbox. You may actually want to purposely have this happen as a means to proactively clean up any cases that are red flagged right after your official close of business.
Step 4: Create the “Clear Flag Clears IFTTT” Workflow Rule
Naturally, if a case has been responded to and you clear the flag, you should also clear the IFTTT checkbox as well. Create a second workflow rule by clicking on Setup > Process Automation > Workflow Rules, and then click “New Rule.” Select the Case Object from the drop-down menu, and then click Next.
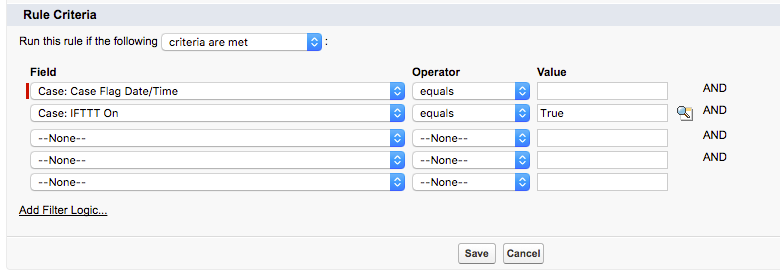
To configure this workflow rule, give it a name, “Clear Flag Clears IFTTT,” and an optional description, “When clearing the Case Flag, also clear the IFTTT checkbox.” For the evaluation criteria, leave it as the default, “created, any time it’s edited to subsequently meet criteria.” For the rule criteria, select the default to run when the “criteria are met,” set the field “Case: Case Flag Date/Time,” the operator to “EQUALS” and leave the value blank (null). For the second rule criteria, set the field “IFTTT On,” the operator to “EQUALS” and set the value to True. Click the Save and Next button to continue.
On the next screen in the “Immediate Workflow Actions” section, click “Add Workflow Action” and then “Select Existing Action” from the drop-down. Search “Field Update,” and then select the “Field Update: Turn IFTTT Off,” click the “Add” button to add it to the Selected Actions, and then click Save.
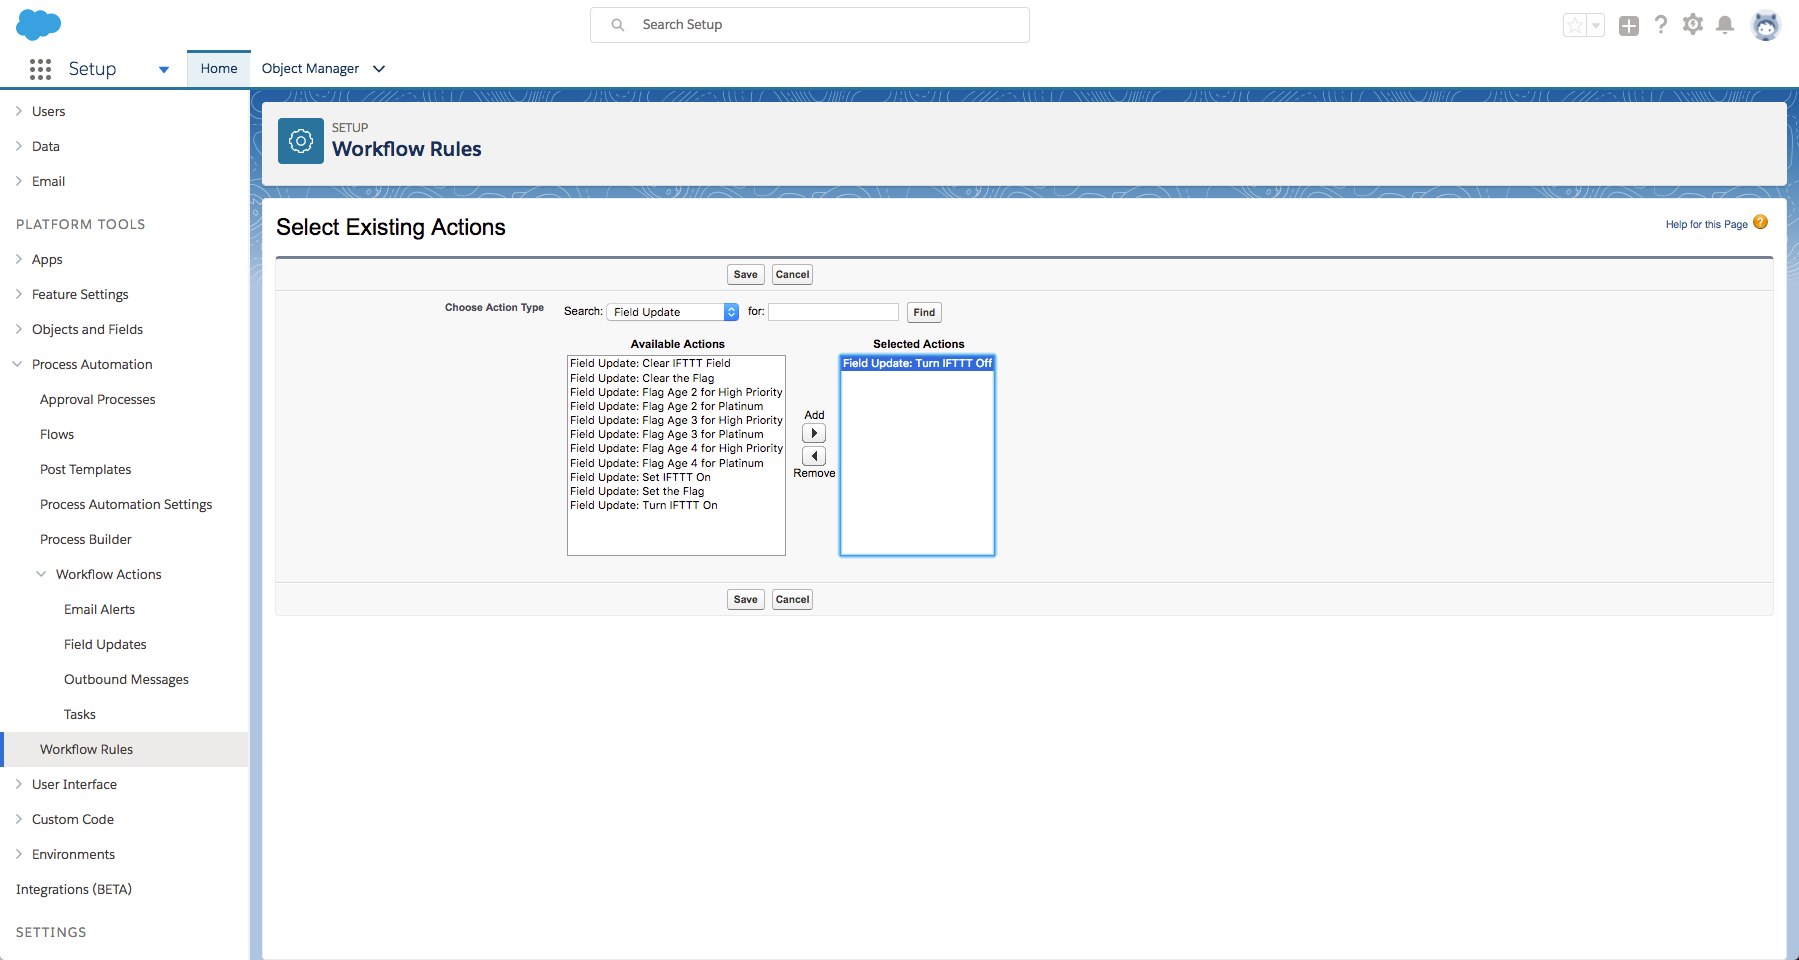
Click the “Done” button in the top right, and then click the “Activate” button on the next screen.
At this point in the process, you can test that your “IFTTT On” field is acting as expected. Create a couple of test cases, let the flags age to red and check the IFTTT On field. Clear the flag on one, and let the other case go an hour past the original timing to ensure that the automation you created is working as expected.
Step 5: Create the IFTTT Applet
Things are about to get cool because this is the step where you make the “Stuff” do the “Thing,” as I like to say. From your IFTTT account, Click the “New Applet” button, and then click on the “+THIS” link.
On the next “Choose a service” screen, type in “Salesforce,” and then click the Salesforce icon.

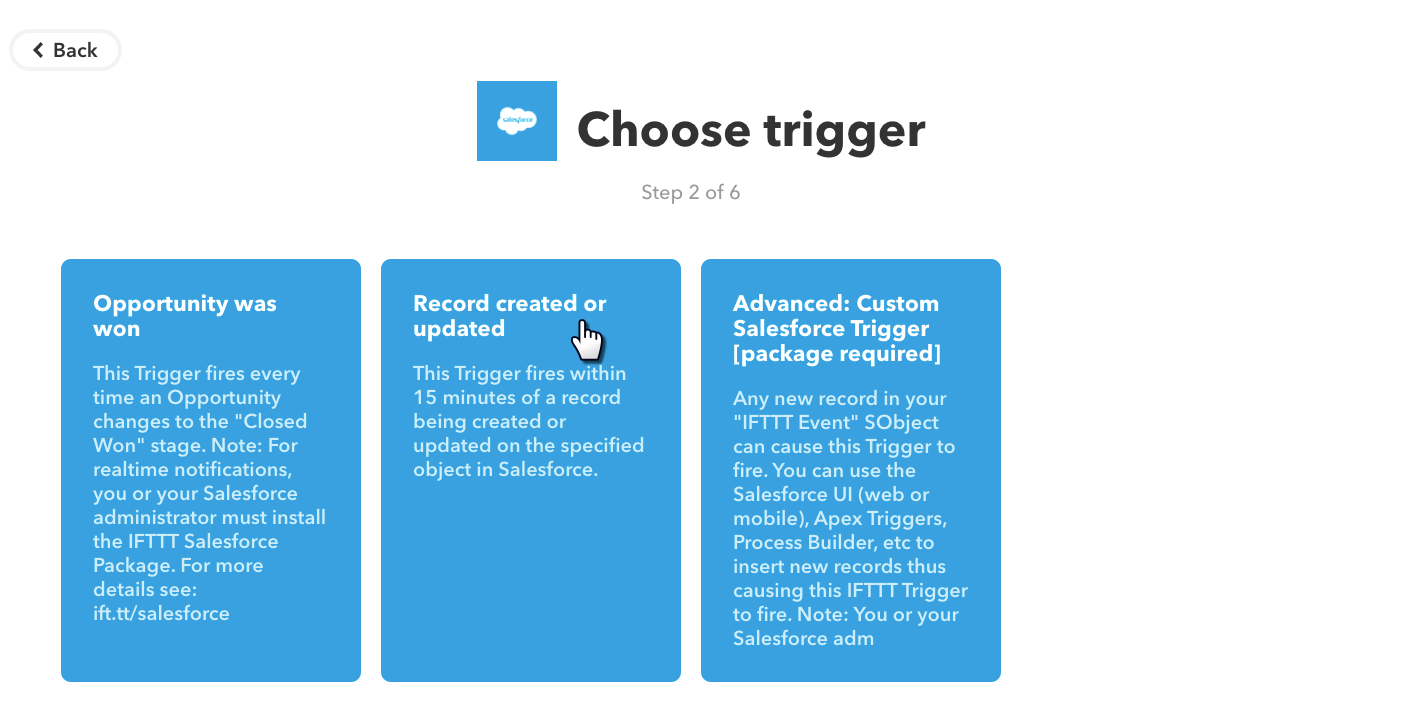
On the next “Choose trigger” screen, click the “Record Created or Updated” panel.
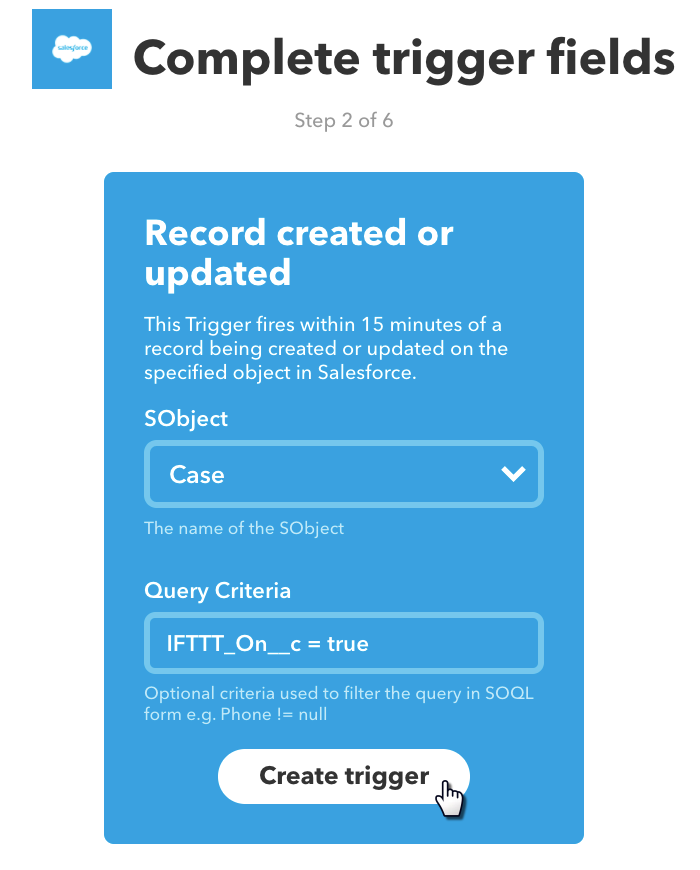
You have a few options to set on the next “Complete trigger fields” screen. From the SObject dropdown, select “Case.” In the Query Criteria, type “IFTTT_On__c = true” and then click the “Create Trigger” button.
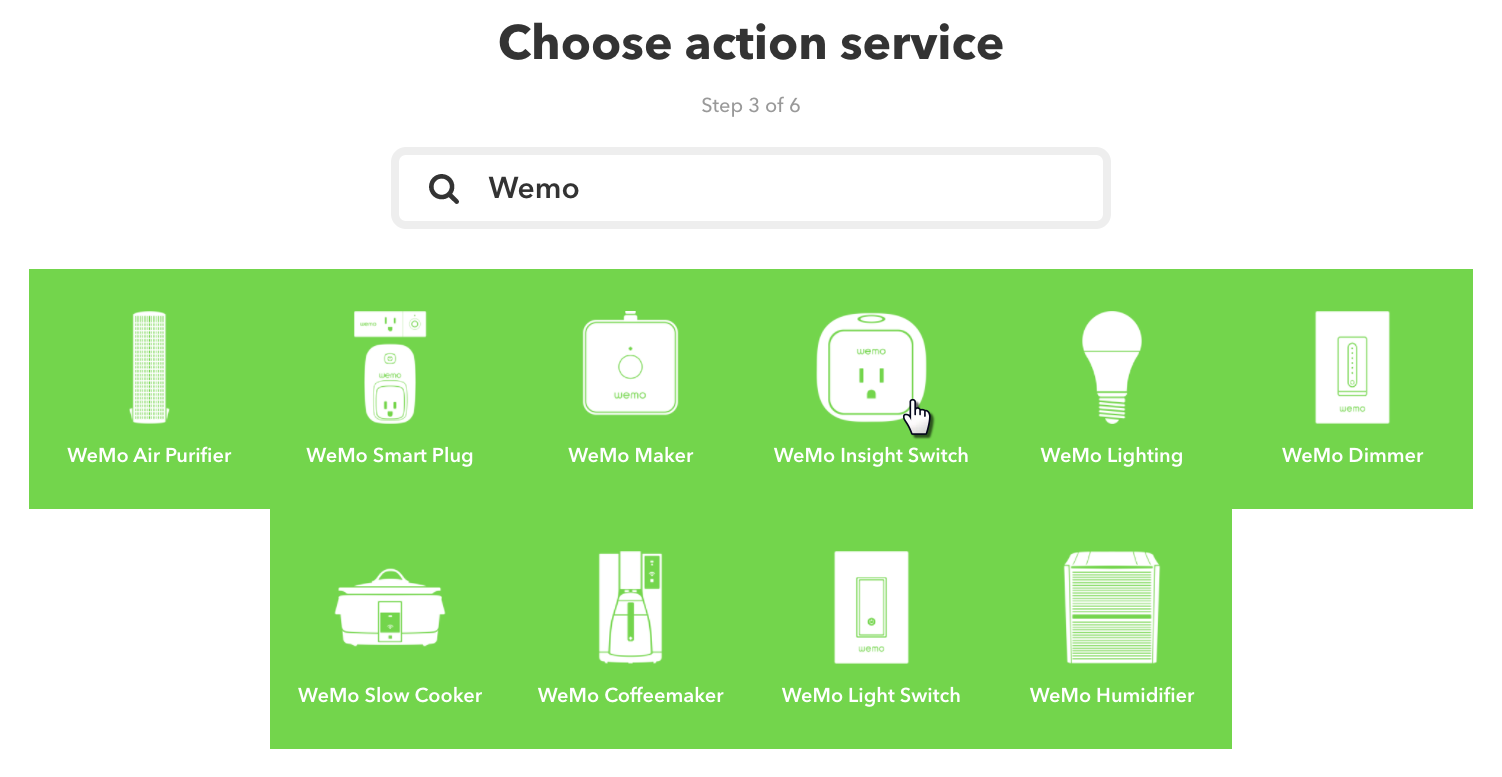
Now moving onto the next screen, click the “+THAT” link. In the “Choose action service” screen, type in “Wemo,” and then click the “WeMo Insight Switch.” If you are using a different product or brand, you’ll want to substitute that here based on that device.
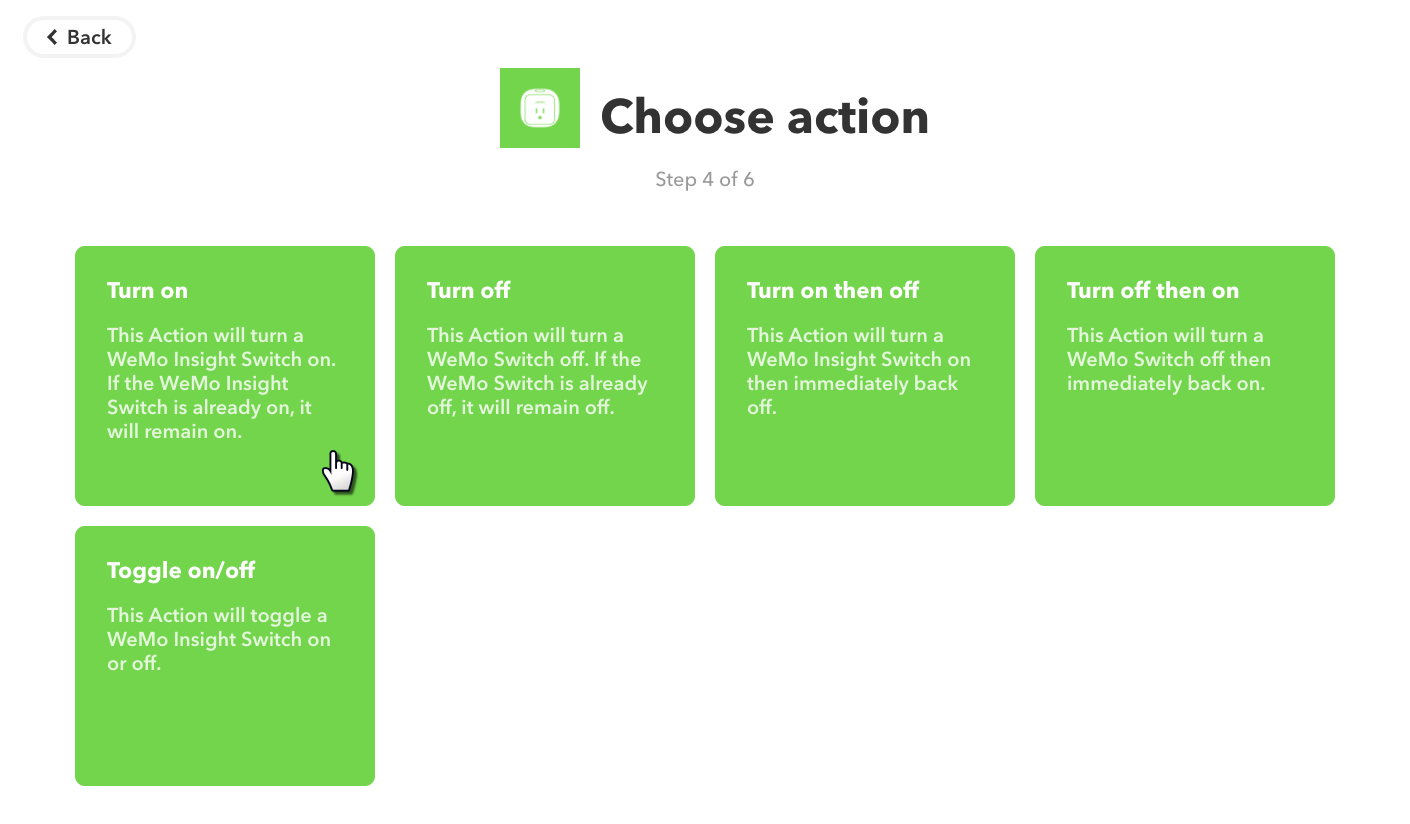
On the next screen, “Choose action,” click the “Turn On” panel.
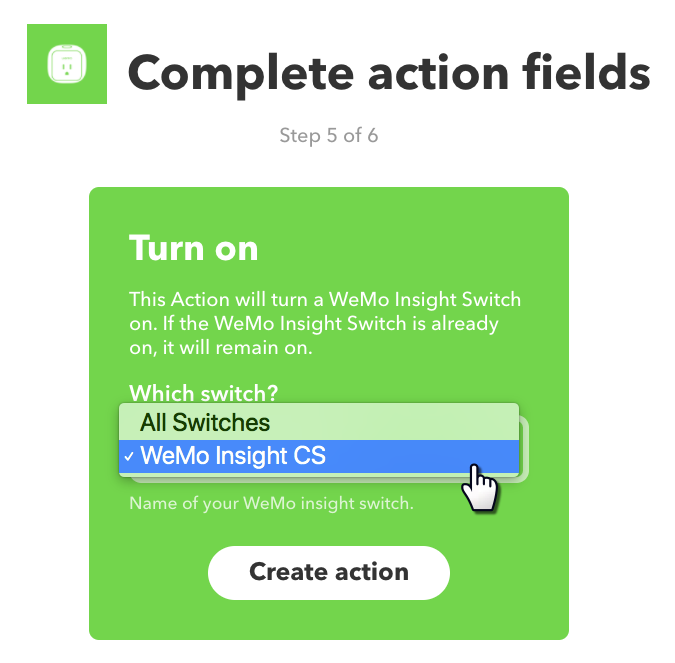
On the “Complete action fields” screen, select the switch from the drop-down. Then click the “Create Action” button.
On the “Review and finish” screen, check to make sure that everything looks good, and click the “Finish” button. If you happen to have the IFTTT application on your mobile device, you can choose whether or not running this applet will give you a mobile notification as well.
At this point, it is time to test everything working together. As you did previously, create a test case, let the flag age to red and check the activity in IFTTT.
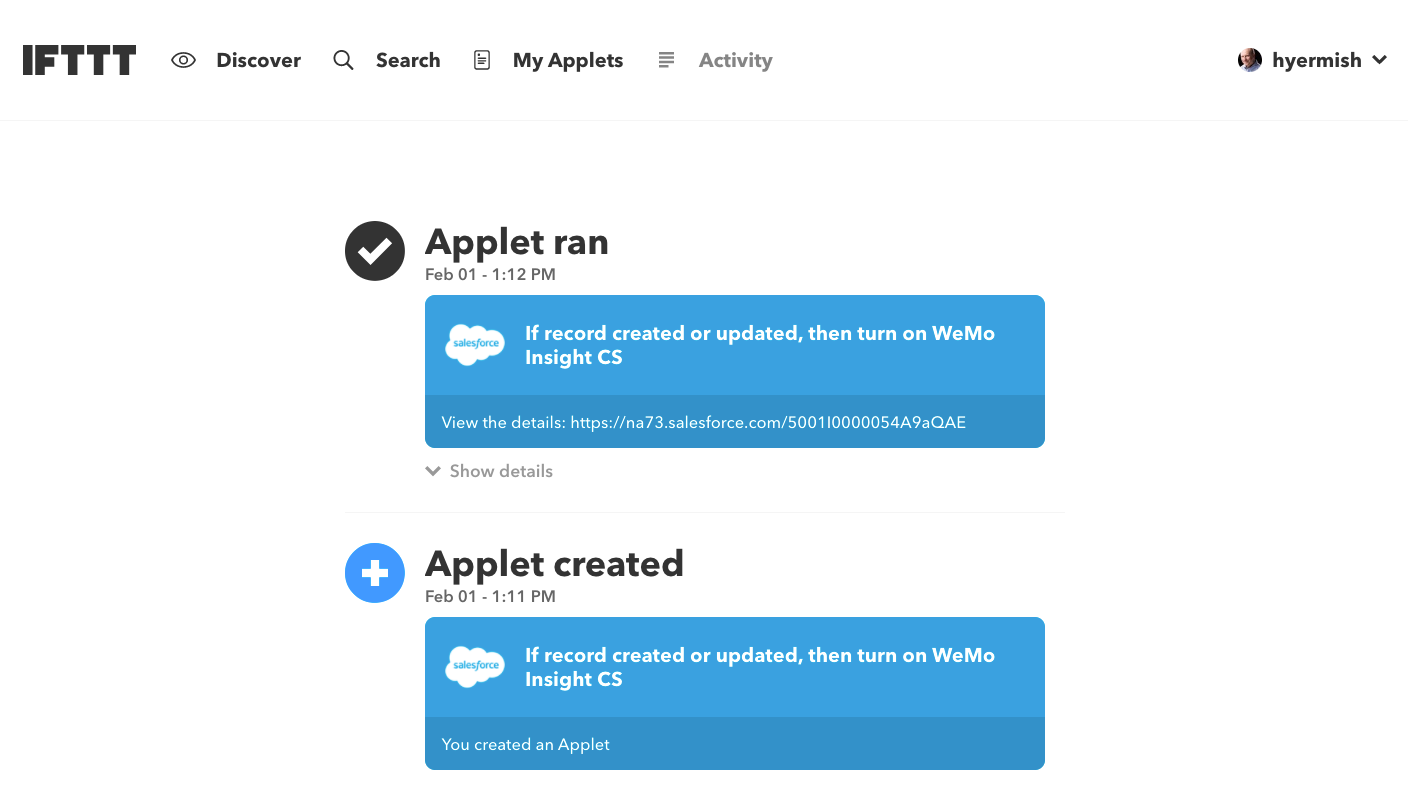
Since you are using a Time-Dependent Workflow Action in combination with IFTTT, don’t expect Swiss precision timing. Figure that within 10-15 minutes of the flag going to red, IFTTT will see it and turn on the light. Sometimes it will happen right away, sometimes it will take 15 minutes. However, you can check the app immediately from IFTTT by going to the Applet itself, and then click the “Check Now” button. This is helpful if you know that the IFTTT On checkbox is set in Salesforce, and you want to make sure that your switch will turn on as expected.
As an alternative to the light, you could also configure the “+THAT” part for Slack. This is especially useful if you are already using Slack for team communication, as you can have it post to that channel and provide a link to the flagged case.
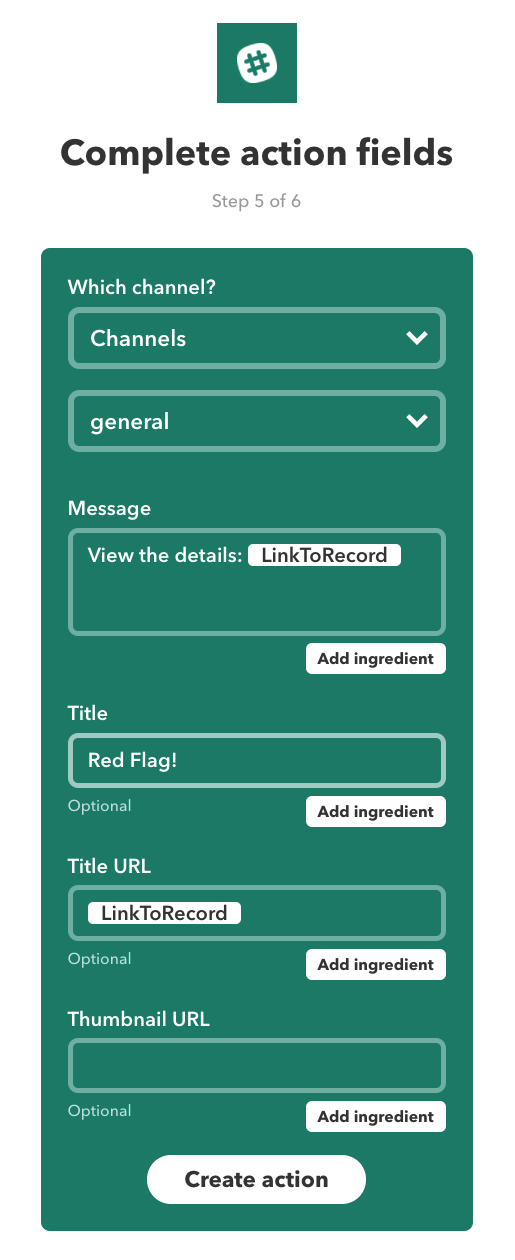
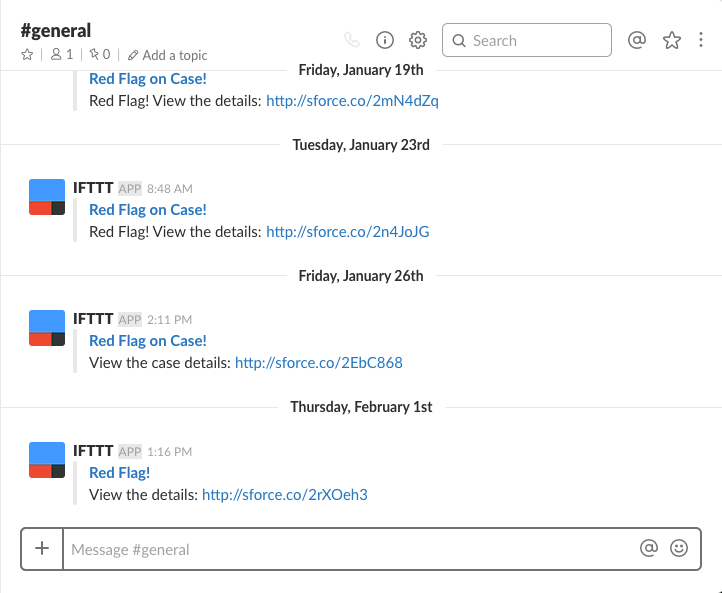
We also found that the Slack integration was very useful when we were creating this automation because we could tell which case would set off the light and at what time.
Some additional notes to consider:
- While we are using Salesforce to turn on the light, we are not using the switch to clear the case flag.
- When a light goes on, you can manually turn off the light or create another IFTTT applet to look for the cleared flag, but this is much trickier to do since multiple cases may be turning on the light. Depending on your particular switch, you may be able to set a timer to automatically turn off the light after a few minutes or limit the schedule of when the light will turn on. For example, while preparing for the webinar, we set a timer on the switch itself to turn off the light after 1 minute as to not annoy people, at least for too long.
- Asking people to click the button on the switch to turn off the light isn’t unreasonable. They will probably want to do it anyway once they find the cases in Salesforce to avoid the public embarrassment of the flashing light.
- You could give everyone their own flashing light and set the criteria of the Applet to include whether they were the owner and the case went red. You would need one smart switch per person, strategically placed at their desk. The side benefit is that if your light went off, people would know that it was your fault.
- If you have a lot of cases going past the Red Flag time, then you probably don’t want to do this, that is unless you really enjoy having red flashing lights on all of the time.
- Don’t expect instant magic here! Between the Salesforce Time-Based Workflow which is known for firing within about 15 minutes of when you want it, and IFTTT which has its own delays and frequencies when it updates records, don’t expect to see the light go on the moment a case goes red, and go off the moment you clear the flag. So don’t complain if things aren’t happening instantly. That said, the practical nature of a red light acting as a safety net to your standard operations in Salesforce can add a bit of fun to the office.

- Automatically Redirect Emails from Duplicates to the Master Case - July 26, 2019
- Is Case Merge Premium Still the Best Option for Merging Cases? - July 5, 2019
- Detect and Define Duplicate Criteria in Salesforce - May 29, 2019

